A View of My Life - Quilt and Other Things

Monday, July 31, 2017

Van Gogh Cow - Finish!

It's a FINISH!
My Cherrywood Fabrics Van Gogh Challenge quilt is done!


This is not the official entry photo but I was eager to post it and announce the finish, once I got the eyes painted.  By the time this post goes live, I will have done any last minute details & cleaning, and uploaded it to the online entry link, where it will go through the jurying process. Fingers crossed!


Friday, July 28, 2017

Painted Quilt Details

I busted out my acrylic paints this week to add some shading to the center medallion of the Phoenix Rising quilt. By mixing in some textile medium, the paint flows better over the fabric.

In the first picture, the middle red feathers have had the edges painted.  It evens out the edges, filling in between the zigzag stitches and adding a slighter darker shade of middle red to the feathers.


In the next picture, the painting has been done on the orange feathers - particularly noticeable on the tail feathers.


The last picture of the night, the painted shading is done on everything except the darker red feathers.  I needed to pick up some cooler dark pink paint to mix into the reds I have in order to match the Kona Cotton Rich Red fabric.

Can't wait to get the last of the red feathers painted.  You can see the thread I use was variegated red and a it's a bit too light.  The paint will take care of darkening it, so it blends a little better. 
And the pink paints were an epic fail. ARGH!
But then I remembered the DH had bought me these awhile back (on clearance at Hobby Lobby!).

LOVELY!  I pulled them out & found a red shade actually match with NO mixing. Even better! The red fabric rectangle does not photograph true but the blob of paint to it's lower right is the match.

The red feathers were quickly painted. A few last minute touch ups with a black laundry marker and done.

Which means this quilt is a FINISH!   I'll get some full pictures once the final cleaning is complete and it's ready to go off to show. I am very happy with how it turned out and having it done before this weekend, as other adventures await.


Wednesday, July 26, 2017

Slow Stitching Sunday

Last Sunday dawned bright and sunny, and hot and humid.

So I went riding. On days like this, you want to get your ride in early but even at 9:00 am, we were hot & sweaty just getting ready to ride. It's important to make sure all the horses & riders get plenty of water and take it easy.

After that, you can imagine it was time to take it easy, right?  Yeah, no.  It was time for some tree trimming.  Lumberjacking in the noon day sun - what fun!  There were a few dangerously low hanging branches endangering two corrals with electric fencing. 

By noon, I was pretty much done in and headed home.  The DH was taking it easy cause his back was bothering him which meant a low key afternoon.  By 3:00 pm, there was a distinct shift in the weather.


A storm front moved in with clouds, wind & a huge downpour.

What a welcome change!!  It was awesome! I was safely, happily ensconced in my studio, doing some slow stitching. 

By 8:30 pm, I had all four sides of the binding on the Phoenix Rising quilt turned and stitched down.

No, it didn't take 5 and a half hours just for the binding, there was laundry, cleaning, dinner and a trip to the bookstore in between stitches.  The corners still need to be finished but I am one step closer to being done.  Considering I dropped off the quilt show entry forms for this quilt & the Solstice Sampler on Saturday, almost being done is a good thing. That show is right around the corner on August 5th.


Monday, July 24, 2017

More Machine Quilting on the Phoenix

The Rising Phoenix quilting goes on.

Doing some straight lines (rays) on all of the applique sun rays. So, rays on rays, I guess.

And some outline quilting on the inside of the piano keys.


It is slow but steady, plugging away at it. No idea how I'm going to quilt the sun appliques yet. I'll cross that bridge when I get there or maybe some inspiration will come to me when I'm in the shower or at 3 in the morning. Kind of have to just roll with it.


Friday, July 21, 2017

Machine Quilting on Phoenix Rising

So, like a minute ago it was June.

Now, a little more than half of July is gone & I have projects that absolutely need to get finished.  I've been doing the machine quilting on the Phoenix Rising quilt in stages. After hopefully fixing the issues I created by not overstitching the edges of the phoenix before layering, I was able to get on with the quilting.

I did some rays going in towards the bird from the corners of the setting triangles.

And some simple subdividing angles on the flying geese. The stepped piano key border created the perfect opportunity to go old school and quilt what looks like string art.

I took the picture before I stitched it out so the pattern is visible. I'm using black thread on black fabric, of course. I also did outline stitching around the sun appliques.  The plan is to add some stitching on top of the applique parts, too.  Then I need to figure out how to quilt the piano keys and do it quick!
After all the quilting & binding gets done, I'm planning on some accent painting on the phoenix, to add a little more dimensional detail.


Wednesday, July 19, 2017

Amazon Prime Day = New Studio & Stash Additions

Amazon Prime Day is basically Black Friday in July.  Since DH & I are Prime members this year, I decided to check out some things, you know, just take a look see. What could it hurt?  Besides the checkbook, of course. 

There were a lot of items. A lot of items! And, since I didn't have all day to sit on the computer buying things we don't need, the checkbook was safe. I did score some new things for the studio & the stash. First up - Art Bin Double Deep Super Satchels.

These will provide some great project storage. Like for the new colors of Marcus Fabric Aged Muslins I got.

There are a few more colors of this collection I want to get my hands on. A few of them are:


Not sure what they are going to be yet, but I do like the muted colors and hand on these. They are a little older so finding them will be a challenge.


Monday, July 17, 2017

New Vintage Blocks Project

And this one time, I went for a drive...

It seems like a lot of my quilt stories start with a road trip.  Well, this one is no different!

The 2018 Sauder Village Challenge has been announced. It's called Modern Vintage: "This year’s challenge focuses on the incorporation of unfinished vintage quilts or blocks into a Modern Quilt aesthetic.  Scraps of vintage blocks and top fragments are to be recycled to create a new and innovative quilt."

I knew about the theme back in June when I was in Shipshewana during their quilt show and found some cool vintage blocks to use for this challenge. The red & white star blocks are hand pieced.  The red work blocks are a little stiff and definitely in need of washing, as there is some unknown staining. The star blocks will also be hand washed & I'm expecting the red dye to release in the process.  It can't be helped, they need a washing.


Yep - red dye release during washing, just like I thought.


The embroidered blocks are cleaner but they are still stained.  I may be removing that part of the block with some creative design choices.

The second part of the challenge is to use at least three (3) American Made Brand solid cottons along with the vintage bits. And of course, you need to buy the solids out at Threads of Tradition - the quilt shop in Sauder Village. Located in Archbold, Ohio, the shop is about 250 miles from me. That makes it 500 miles round trip or all in a (long) day trip. At this point I was just winging it color scheme wise. There is no design plan yet, so I need to cover my bases without going overboard.


This is what I came up with, planning right there on the cutting table at the shop. Going to be interesting to see where this leads, though I have plenty of time. I like getting these fabrics as early as I can so they're ready for a winter project.


Friday, July 14, 2017

Working the Cherry

Time to introduce the cherry part of the treadle TV stand project.
 

It's a lovely piece of two inch thick, twelve inch wide, 48 inch long slab of live edge Michigan cherry.

Still has some bark on it that needs to be removed. That's where I come into the project.

The DH is handling the actual construction, as well as the initial planing and sanding. I'm on de-barking, some sanding and finishing coats of Varathane poly.

It went well & quick


It even got a first light sanding with a Scotch Brite pad to get the last bits of bark off. There are two edge dings that need to be addressed. One on the front and the other on the back. This lovely slab will be on the top of the legs, with a shelf of one by eight cherry about seven inches under the top, to hold the DVD player and satellite box.

The bottom of the unit will be open to accommodate an antique wooden carpenters chest that will provide great storage for the studio. The chest is in the studio now but the TV sits on top of it and can't be easily accessed.
Can't wait for this to be done & in place!


Wednesday, July 12, 2017

Treadling Project sans Fabric, Thread & Machine

No, don't have the 1921 Singer 66 Redeye treadle machine up & running yet - that's still on my long term project list.  But the new project does involve a Singer treadle or more specifically the legs irons from a Singer treadle.

This pair was gifted from my friend, Scarlet last fall. They are just the end legs and perfect for the new TV stand for my studio. They are in great condition, though in need of cleaning.  While they don't feel dirty, the cast iron seems to attract and hold dirt differently - a scrubbing with dish soap didn't shift it. 

But I have a secret weapon!  409. Yep, it's grease cutting properties cuts through anything including light surface rust. Works great with a Scotch Brite pad.


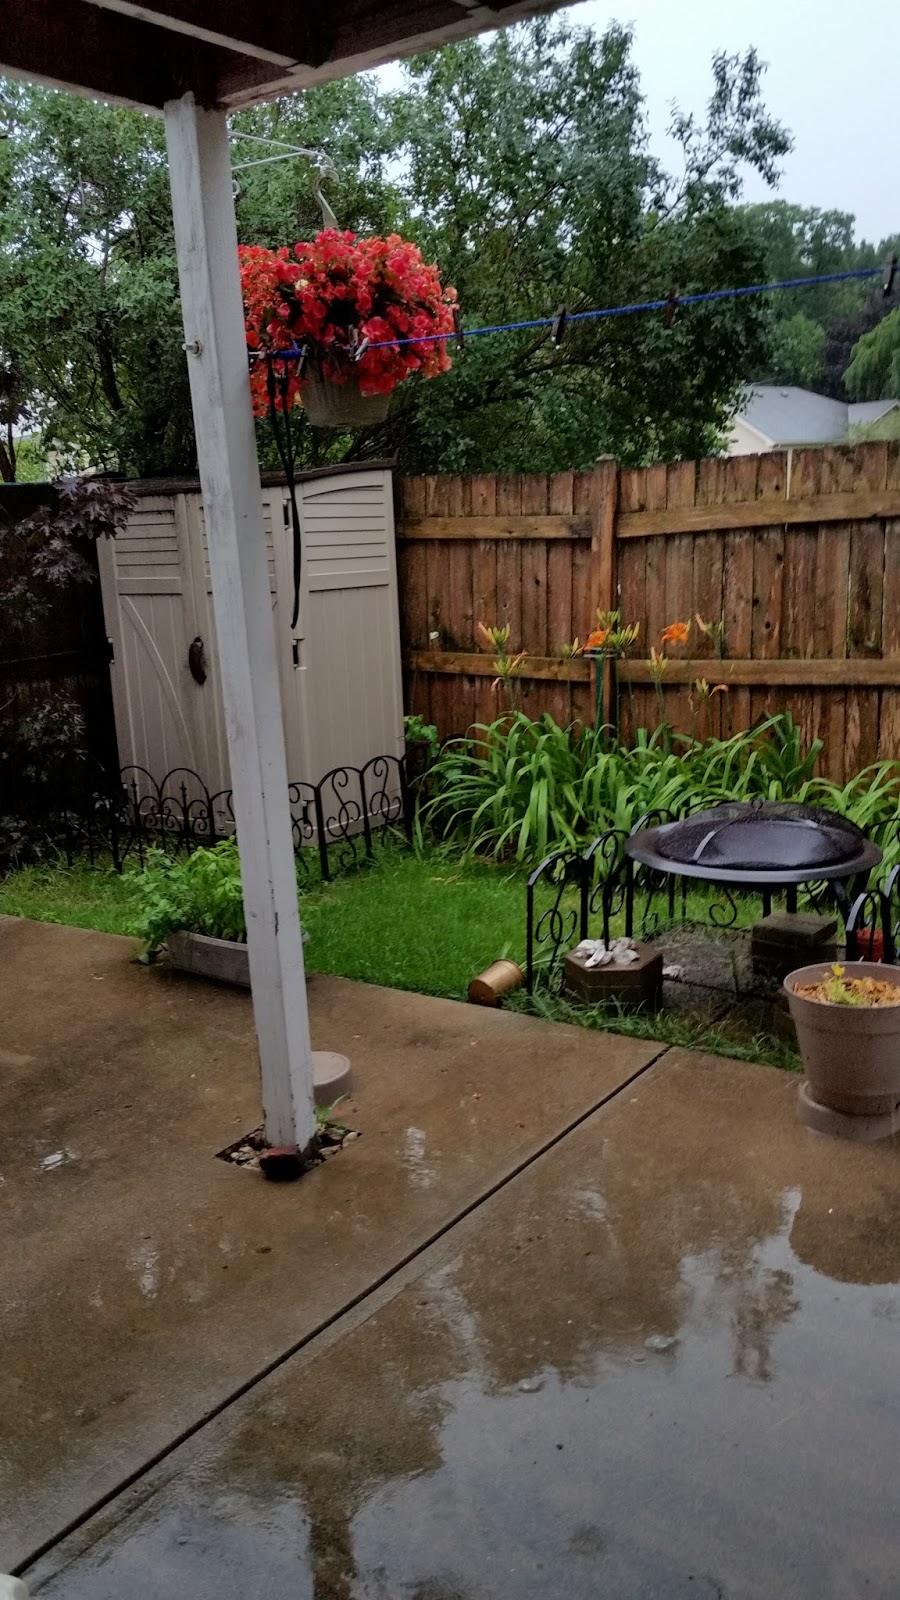
It also works on aged cedar fence grunge - ask me how I know.
Summer 2017 Fence Cleaning
After washing, rinsing repeated and sun drying, the legs were ready for the next step - taping off the center medallion.  At first I was just going to paint everything and then go back & repaint the medallion in gold and red.

Until I found this when I cleaned them. Left side was after scrubbing and right side is before.

The original paint!  Plans changed and I decided it would be better to leave this, paint the legs and then use car wax to protect the medallion front.

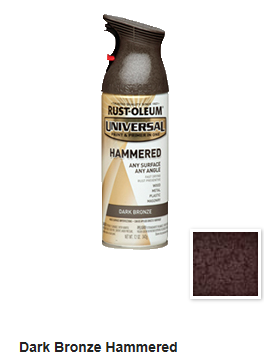
So I taped off and painted. Which paint?  That was a BIG decision.  Many people repaint in gloss black. I found a bright red gloss set picture. And I considered a few  Rustoleum hammered paint colors.


Then I found this:

I set up the painting area on the patio and commenced.

Front:

Back:


And the unmasking:

I still need to wax the medallions but I am thrilled at how they turned out.  I have another set of these legs to make a matching machine shelf unit and will also use the soft iron paint on them

Up next is the wood portion of the project. Working in different mediums is a nice change of pace.